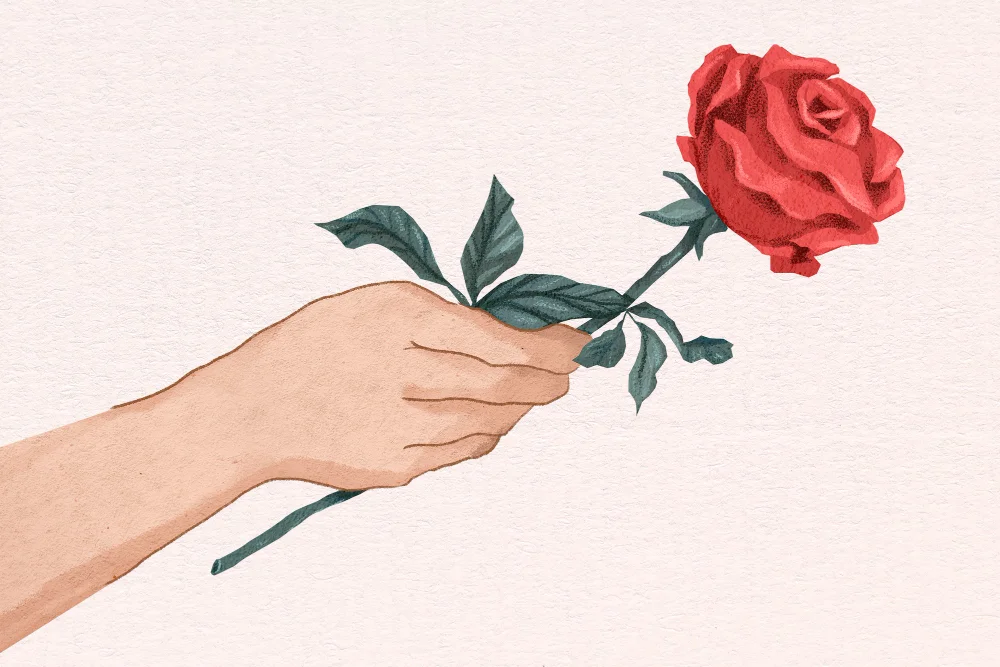
If you’ve ever marveled at the intricate beauty of a rose and wished you could capture it on paper, then this blog is for you. Welcome to easy steps on rose drawing by BIOWARS, a skill that can be both relaxing and rewarding. Whether you’re an expert artist looking to fine-tune your abilities or a beginner searching for a new hobby, we will provide you with all the necessary tools to unlock your creative side.
Benefits of Drawing Roses
Drawing roses has multiple benefits that go beyond just creating a beautiful picture. Rosen’s painting is an excellent way to heighten our observational skills. By paying keen attention to the structure, color, and texture of roses, we can significantly improve our attention to detail. Second, drawing roses can be therapeutic. The focus required to draw the intricate petals and stems of a rose can be a form of mindfulness, helping you stay present and relaxed. Lastly, it’s a fantastic way to express your creativity. With countless varieties of roses and an infinite color palette at your disposal, the possibilities are truly endless.
Materials Needed to Draw Roses
To start your journey into rose drawing, you’ll need a few basic materials. First, a set of pencils. These should ideally range from 2H to 8B, allowing you to achieve different levels of darkness and shading. Next, you’ll need a good quality eraser for corrections, and a sharpener to keep your pencils ready.
Your drawing surface is also important. A sketch pad or drawing paper of good quality is ideal, with a smooth texture to facilitate easy sketching. Lastly, consider a set of colored pencils or watercolor paints to bring your roses to life. Finally, a collection of reference images could be of great help. These could be either photographs or illustrations of roses to provide you with visual guidance.
Key Steps in Drawing Roses
Step 1: Start with a Basic Shape
Start your rose drawing by sketching a simple circle. This will serve as the base for your rose and guide the placement and size of the petals.
Step 2: Add Petals
Begin adding petals around your base circle. Start from the middle and work your way outward. Remember, rose petals are not perfect. They can be wavy, curved, or pointed. The more varied your petals are, the more natural your rose will look.
Step 3: Add Details
Once you have your petals sketched out, you can start adding details. This includes shading, vein lines on the petals, and texture in the center of the rose.
Different Types of Roses to Draw
Roses come in a variety of shapes, sizes, and colors. The classic red rose is always a favorite, with its symmetrical petals and intense color. White roses, on the other hand, can be a challenge due to their subtle color variations and the need for careful shading to capture their shape. Wild roses, with their simpler structure and delicate petals, are great for beginners.
Understanding the different types of roses and practicing drawing them will increase your versatility as an artist. Not only will it keep your drawing practice interesting, but it will prepare you for many other drawing challenges.
Color and Shading Techniques
Mastering color and shading techniques is a crucial part of bringing your roses to life. For the base color of your rose, choose a color that matches the overall tone of the flower. Next, add depth with darker colors to portray shadows and lighter colors to show highlights.
When it comes to shading, remember that roses are three-dimensional. The parts of the petals that curve inward will be darker, while the parts that catch the light will be lighter. Lastly, don’t forget the stem and leaves. These should be shaded to appear as though they are supporting the flower.
Learning from Others’ Work
Studying other artists’ work can provide valuable insights into technique and style. Visit art galleries, browse online art platforms, or even join a local art group. Pay attention to how other artists capture the intricate details of roses, from the shape and arrangement of the petals to the play of light and shadow.
However, while it’s good to learn from others, remember to develop your style. Art is subjective, and what works for one artist may not work for another. Experiment, practice, and don’t be afraid to make mistakes.
Mistakes to Avoid When Drawing Roses
Common mistakes when drawing roses include making the petals too symmetrical or the rose too flat. Remember, roses are natural and organic, so perfection isn’t the goal. Petals should be varied in size, shape, and position. As for the rose appearing flat, this is often due to insufficient shading. Don’t be afraid to go dark with your shadows; it’s what gives your rose its three-dimensional appearance.
Another common mistake is rushing. Drawing roses requires patience and attention to detail. Don’t rush the process. Take your time with each petal, each leaf, and each stem. The result will be worth your patience.
Troubleshooting Tips
| Problem | Cause | Solution |
| Rose appears flat | Insufficient shading | Add darker shading in areas away from the light source |
| Petals look unnatural | Too symmetrical | Vary the size and shape of your petals |
| Colors seem dull | Limited color range | Use a wider range of colors for a more vibrant result |
Final Thoughts
Drawing roses can be a rewarding and relaxing hobby. Not only does it help improve your artistic skills, but it also allows you to express your creativity. It can be challenging at first, but with time, practice, and patience, you’ll find that the process becomes easier and more enjoyable. So, grab your sketch pad and pencils, and unlock your creative side with BIOWARS!


