


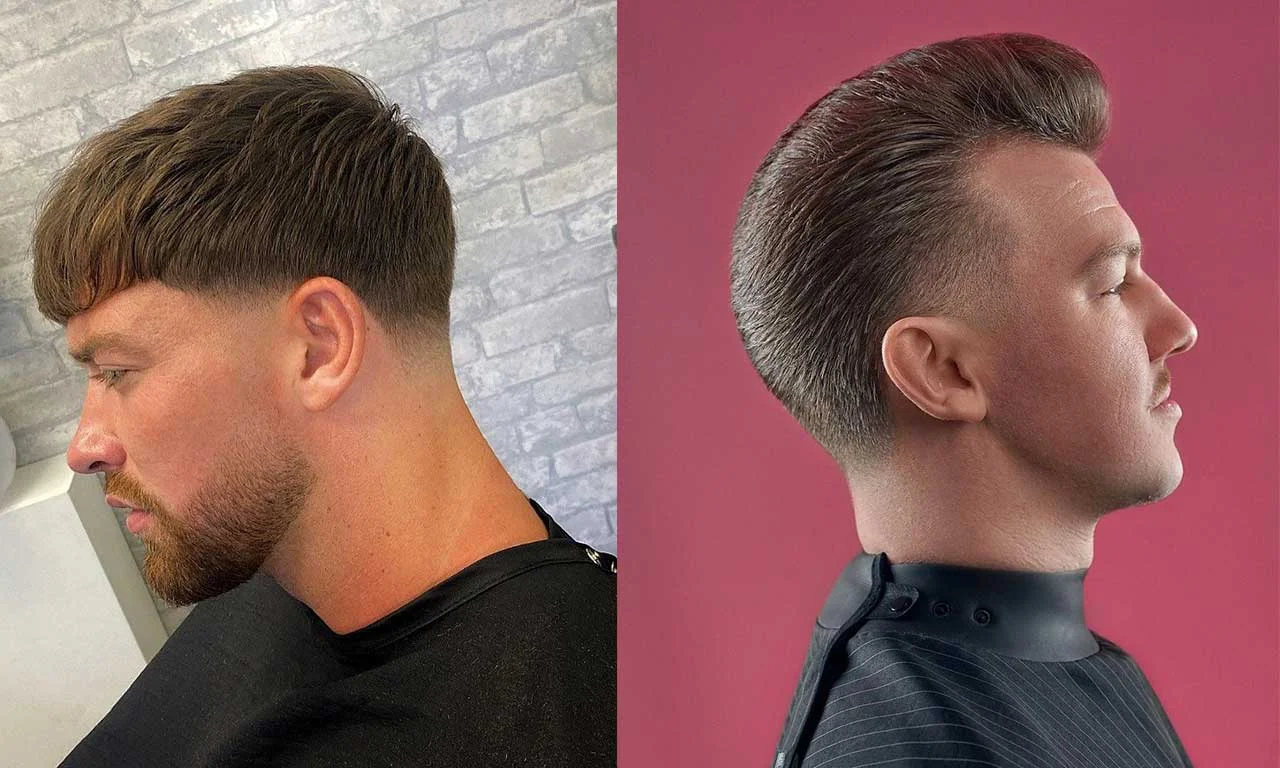
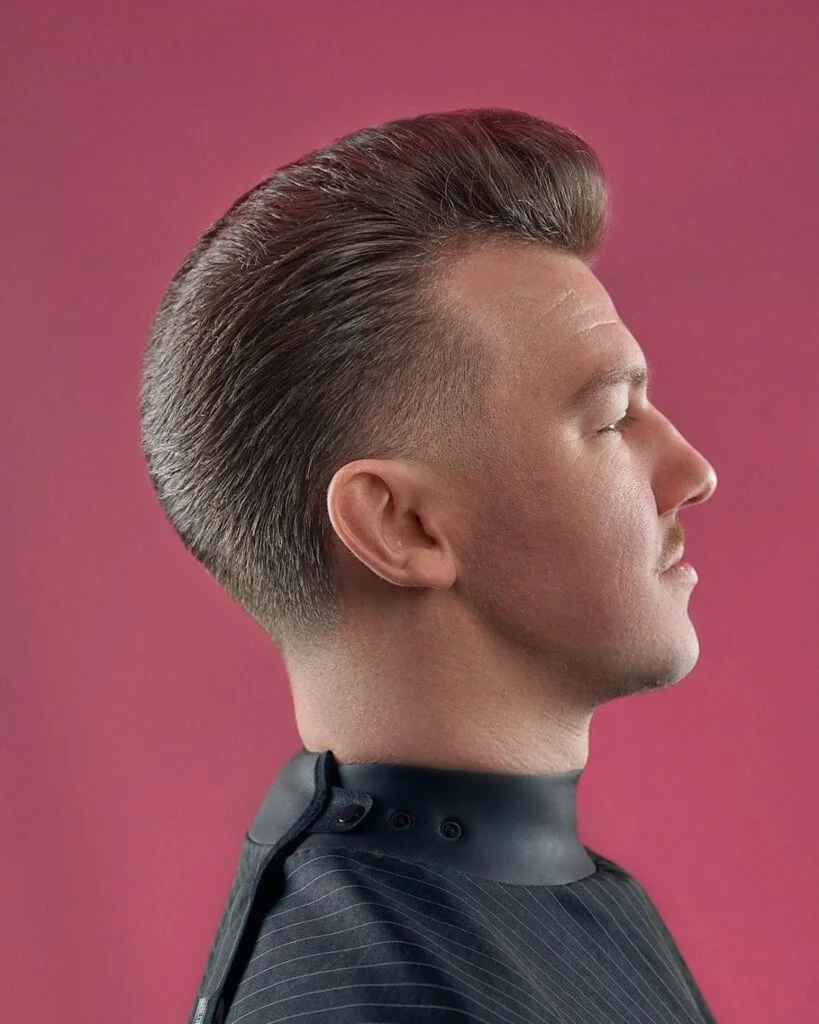
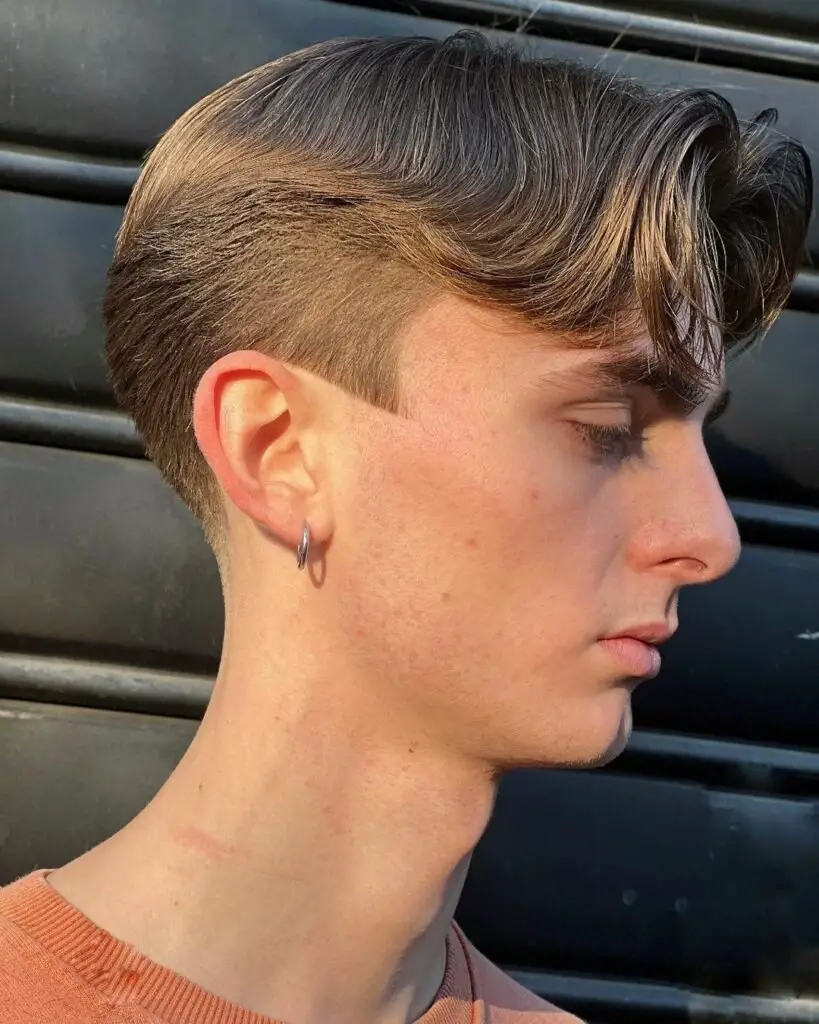
Steps On How To Do A Low Taper Fade

Low taper fades are perfect for all hair textures and face shapes. The fades may appear as if they are complicated to come up with, especially with gradually transitioning from long to short hair. Fades are simple to come up with, and anyone can pull off a faded hairstyle from home with the proper guide.
The secret behind taper fades, creating a gradual change in length, where the hair gets shorter as you get closer to the hairline. If you are creative and confident with the proper guide, you can do a fade haircut independently. Here are steps to do the perfect low taper fade in the comfort of your home.
1. Creating The Top Section
When creating a taper, the top section is left longer. Take time also to establish where the long hair should end and how you want the sectioning to appear.
Before doing any cutting, it is important to comb the hair when wet. This helps determine the exact hair length and amount you want to chop off.
Hold the hair on the top you want to leave longer with a clip to establish the fade. Use clips round to keep the hair on the top away as you work on the sides and the back.
While cutting the hair on the sides and the back, ensure that you have a towel around your neck to ensure that you don’t get hair on your clothes or other body parts where you don’t want it.
2. Start With The Shortest Clippers
Using the shortest clippers means that you get to leave the longest hair possible from the scalp. This is very important, especially if it is your first time trying to do a fade haircut.
The extra length gives you room for corrections as you go shorter. You can always continue trimming but never return the hair you’ve chopped off.
Continuously adjust the clippers as you shorten the length but don’t rush into chopping too much length simultaneously. Adjust the clippers with short brakes in between to check where you need to make adjustments until you achieve the length you are looking for.
3. Use Medium Guard
The medium guard will be used to do some bit of blending. Start with a taper and gradually transit to the first pass. For instance, if you start with guard 1, you will snap to guard two and use the clippers in a circular motion to ensure everything is polished and balanced.
You will need to hold the clipper upward to get a slightly shorter length and pass it over for the second time. Adjusting the clipper will help you get to about half the section you have just cut.
You will need to use the clipper upward and move it in tighter motions than before to go all the way short. Remember that you are trying to get a low taper fade, so the hair left on the sides and the back should be extremely short.
4. Using The Longest Guard
At this stage, you already have the hair halfway faded. The back and the mid-section are complete, and what is needed is to use the longest guard to complete the look.
The remaining part of the stage is the fade’s upper section, which shows the transition to longer hair at the top. You need to be careful when working with this section to avoid getting too deep into the hair at the top.
You should not touch the hair at the top, so you must ensure the clippers are holding the hair tight to keep it away as you work with the upper section of the fade.
The back part may be challenging to work on if you are doing your hair, and to avoid the risk of messing with the longer hair on the top, you should get help from a friend or family member.
5. Cleaning Up The Transition Line
The transition line should create a clear transition between the long hair on the top and the short hair on the sides and the back. You can use a comb to help you hold the hair in position as you clear up the transition line.