


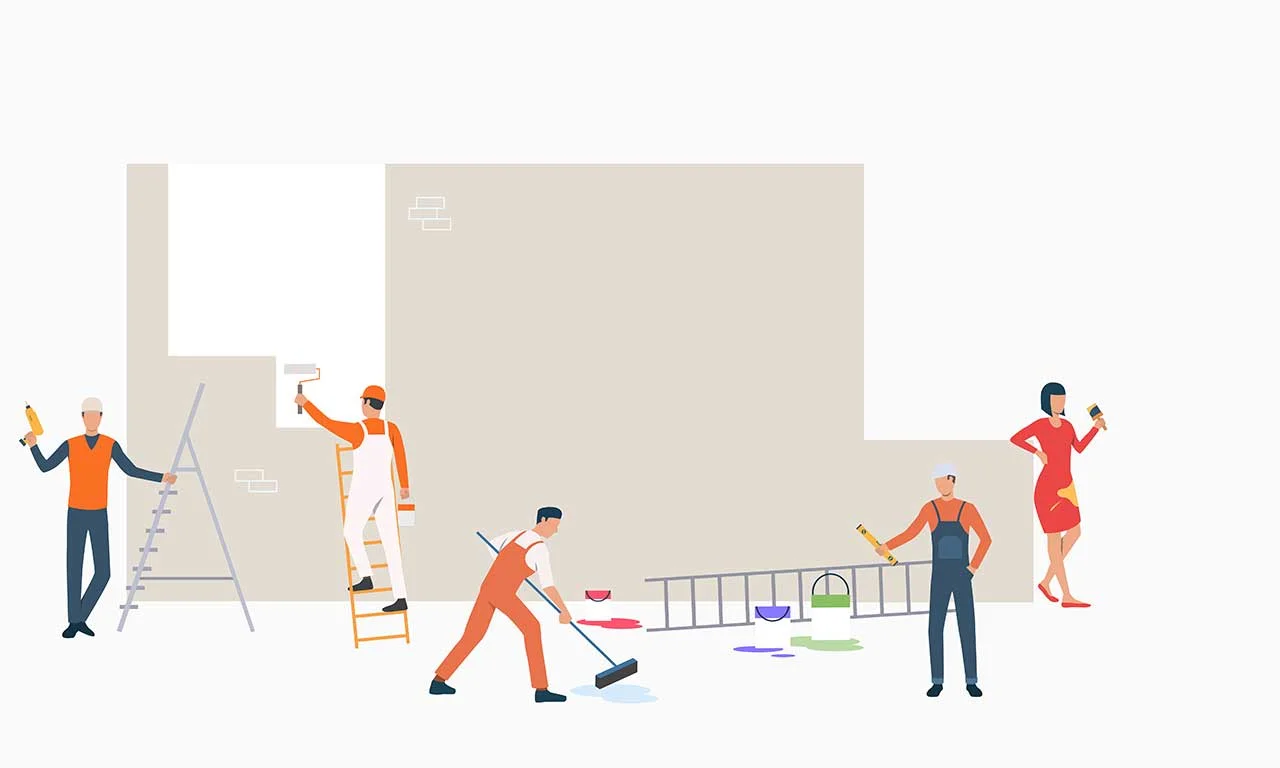
A fresh coat of paint can do wonders for the appearance of your home’s exterior, but before you break out the brushes and rollers, you should take a few important steps to prepare your home for the painting process. Proper preparation can help ensure that your new paint job lasts longer, looks better, and saves you time and money in the long run. This blog will explore the top tips for preparing your home before exterior painting.
1. Clean the Exterior Surfaces
The first step in preparing your home for exterior painting is to clean the surfaces that will be painted. It will help the paint adhere better and last longer. Use a pressure washer or a garden hose with a nozzle to remove dirt, dust, and grime. Remove any cobwebs, insect nests, or other debris from the surfaces.
If any areas have mildew or mould, use water and bleach to clean them. Wear protective clothing, goggles, and gloves, and follow the manufacturer’s instructions for using the bleach solution. Allow the surfaces to dry completely before moving on to the next step.
2. Repair Damaged Surfaces
Before you start painting, it’s important to repair any damage to the exterior surfaces. It can include cracks, holes, and other imperfections. Use a scraper or sandpaper to remove loose or peeling paint, and fill in gaps or holes with wood filler or caulk.
For larger repairs, such as replacing damaged siding or trim, it’s best to hire a professional painter in Bondi. They can make the necessary repairs and ensure that the surfaces are ready for painting.
3. Protect Landscaping and Outdoor Furniture
Painting the exterior of your home can be messy, so it’s important to take steps to protect your landscaping and outdoor furniture. Cover any plants or shrubs close to the house with plastic sheeting or drop cloths. It will help protect them from paint drips and splatters. If you have outdoor furniture or other items that cannot be moved, cover them with plastic sheeting. It will help prevent them from being damaged by paint.
Consider consulting with a professional landscape designer like Michaelangelo from Landscapes and More to enhance the overall aesthetic appeal of your home’s exterior before embarking on the painting process.
4. Remove Exterior Hardware and Accessories
Before you start painting, removing any exterior hardware and accessories, such as light fixtures, house numbers, and door handles, is a good idea. It will make it easier to paint around them and help ensure they are not accidentally painted.
If you are uncomfortable removing the hardware, hire an exterior painter in Bondi to do it for you. They can safely remove and reinstall the items without damaging them.
5. Apply Primer
Applying a coat of primer to the exterior surfaces before painting can help the paint adhere better and last longer. Use a high-quality primer designed for use on exterior surfaces, and follow the manufacturer’s instructions for application. Allow the primer to dry completely before moving on to the next step.
6. Choose the Right Paint
Choosing the right paint for the exterior of your home is important. You want to paint that will withstand the elements and last many years. Look for a high-quality, 100% acrylic latex paint that is designed for use on exterior surfaces. When choosing a colour, remember that darker colours tend to fade faster than lighter colours. If you live in an area with harsh sunlight, consider choosing a lighter colour to help prevent fading.
7. Remove Contaminants
Several homes still have lead paint on their walls, even though it has been forbidden since 1978. Avoid washing or attempting to scrape or sand away the suspected lead. The paint must be removed by a qualified painter in Bondi to handle lead abatement before you begin. Before you start any more outside painting preparation, test the paint.
Mould or mildew is a typical pollutant, particularly in humid regions. Check for stains that may seem fuzzy and are black, green, or brown. Use regular bleach to stain if you’re unsure if it’s mould, mildew, or simple dirt. If it disappears after bleaching, mould, or mildew has been eliminated.
To eliminate mould and mildew, use bleach or another EPA-registered micro biocide or fungicide. Although bleach by itself can be effective in a 3:1 solution diluted with water, more potent, highly concentrated solutions are also readily accessible. Look for cleansers and degreasers that serve two purposes: getting rid of oil, grease, dirt, mould, and mildew. If you’re painting a home in an area where mould and mildew are likely ongoing issues, add a mildewcide to the paint to stop future contaminant issues from arising.
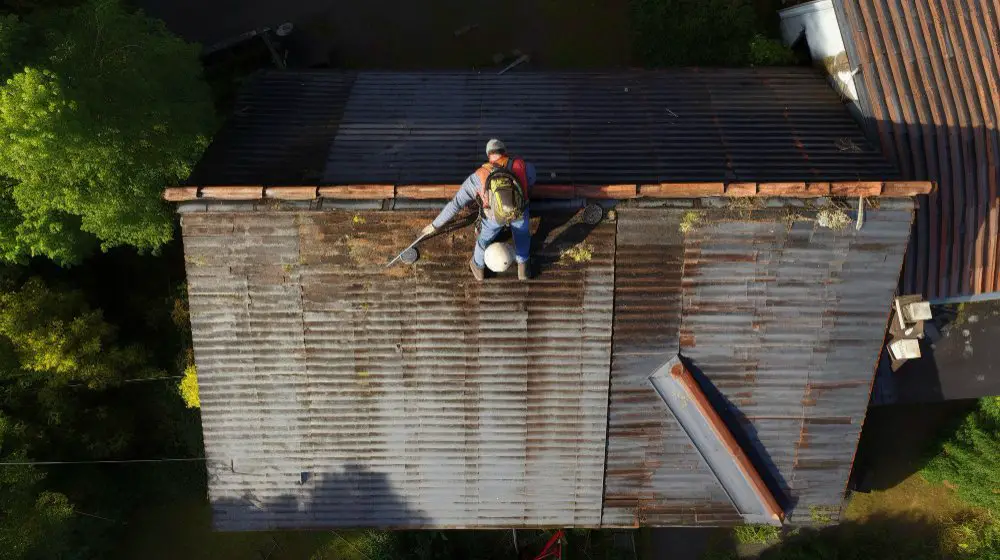
8. Sand The Exterior
For the paint layers to adhere to one another mechanically, it is important to sand the outside walls. Your paintwork could appear excellent initially but if you don’t appropriately rough up the surfaces, the paint starts to show all kinds of flaws. You could be tempted to start painting, especially if you’re using oil-based paint because it wets the last layer so thoroughly that it first adheres and looks fantastic immediately. But if you want a finish that will guarantee satisfied, returning clients, sand the surface to do a paint job that will last.
Connect with Sydney Wide Painters
Preparing your home before exterior painting is crucial in ensuring that your new paint job lasts longer and looks better. Following these tips, you can clean and repair your exterior surfaces, protect your landscaping and outdoor furniture, remove exterior hardware and accessories, apply primer, choose the right paint, and use the right tools and techniques. With proper preparation, you can achieve a beautiful and long-lasting paint job that will enhance the appearance of your home and protect it from the elements for many years to come.